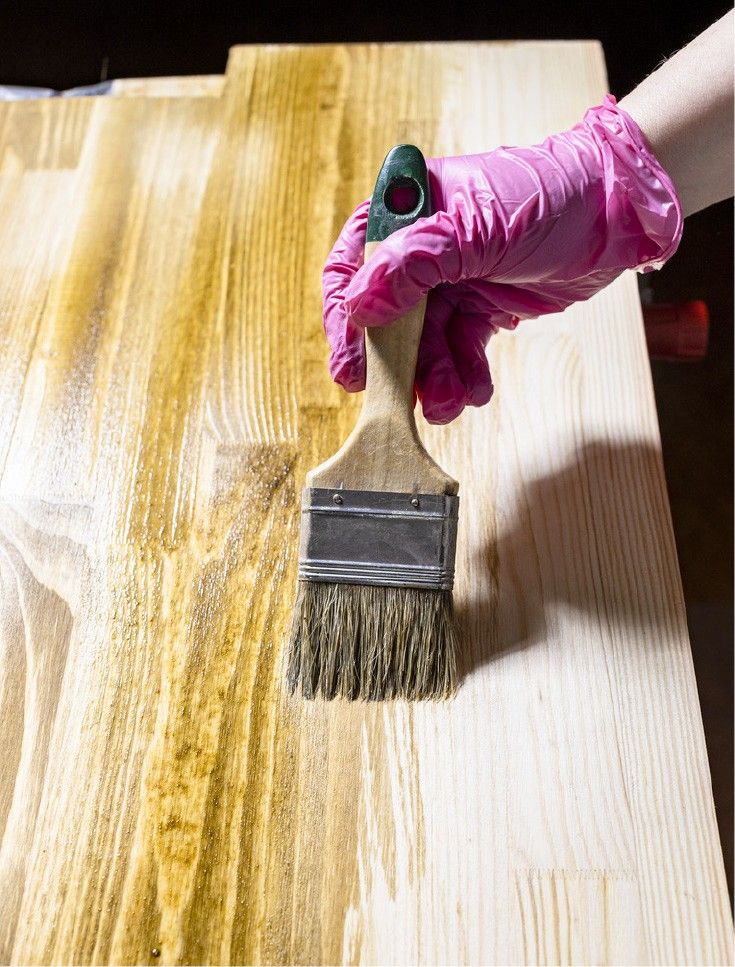
1. Repair As Needed with Wood Putty
The steps to staining wood begin with examining what you plan to stain. If the wood has damage on the surface, use wood putty or filler to fill in any holes or divots.
Sand and clean the surface of the wood. Then, apply wood filler using a putty knife. Once filler is dry, sand the area until the surface is level and smooth. Then apply stain or other finish as desired.
2. Sand Thoroughly
When preparing wood for stain, you’ll need to sand its surface. Use a sanding sponge or orbital sander. Sandpaper with a lower grit number will make wood rougher, allowing more stain to absorb and creating a darker color.
Start with 120-grit sandpaper for pieces that already have a finish. With unfinished wood, start with 80-grit sandpaper and then treat it as if you're refinishing it.
When you have removed imperfections and sanded the entire surface, wipe off the dust and loose sandpaper grit.
Sand with 180-grit until you've removed all the marks left by the 120-grit and the surface appears level and then brush clean.
3. Wet the Wood
Wipe down the wood to raise the grain. If you don't raise the grain at this point in the process, the stain will raise it later. However, re-sanding to get the wood smooth again removes much of the stain.
Let the wood dry, then sand with 180 to 220-grit paper. Remove dust with a clean cloth.
4. Apply Conditioner or Filler as Needed
Some softwoods, like pine, and some hardwoods, such as cherry, turn blotchy when stained. In this case, consider applying a pre-stain wood conditioner, which seeps into the wood fibers to seal the material and prevent the uneven absorption that causes blotching.
If you use a gel stain, you can apply it without needing a conditioner.
Some woods such as mahogany and oak have an open-grain structure that needs filling to provide a smooth finish. Grain filler is a pigmented paste that comes in a variety of colors. Choose one to match the wood or stain color and apply with paint brushes or rags to the manufacturer’s instructions.
Remove excess with a scraper and lightly sand after drying.
 5. Stain the Wood
Thoroughly stir the wood stain before applying.
Use a rag or cloth instead of a sponge, which may absorb the stain. When applying, the cloth should be wet but not dripping. Test on a piece of scrap wood.
You can apply stain across the grain of the wood or with the grain of the wood. The way you apply the stain onto the wood is less important than applying plenty of it. Follow Cloverdale Paint’s directions for the staining application instructions.
It's better to apply thinner coats and add more as needed, rather than apply too much and have a darker color than you want.
6. Remove Excess Stain
Remove the excess stain with paint rags by wiping with the grain. If the stain has dried too much, it will be difficult to remove. Loosen it by applying more stain and rubbing vigorously. If it dries hard, paint thinner will loosen it.
7. Apply Sealant as Needed
Applying a topcoat sealer is not required, but a finish protects the stained wood from scratches and keeps it from fading over time.
If applying a polyurethane wood finish with a brush, apply one to two coats.
If using a spray can, hold 8 to 12 inches from the surface and apply two or three light coats.